How Do I Connect Canon Printer to My WIFI on Windows And Mac?
Canon is known for its various tech products that are best in their class. It is a Japanese company headquartered in Tokyo, Japan. It is also one of the oldest tech companies that offer services in various fields. Canon is known for its camera and its accessories, but now canon is into many other products. Medical equipment, scanners, industrial equipment, and printers are some of their products.
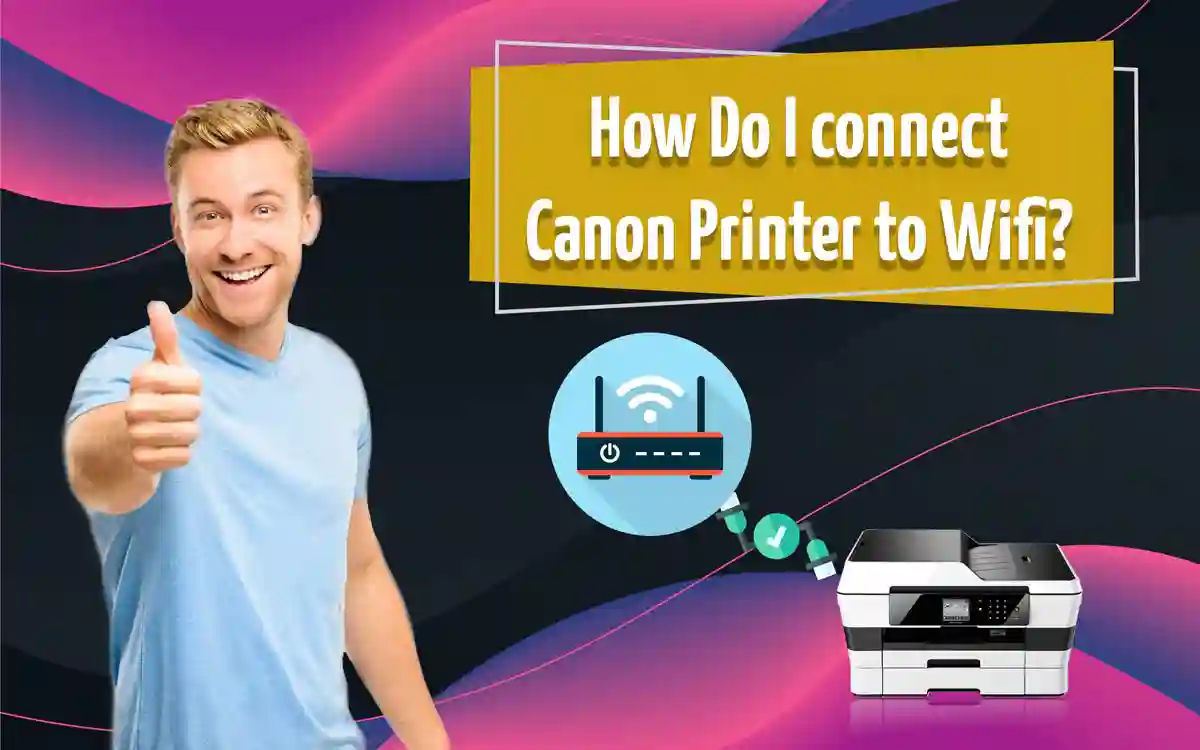
Canon printers are reliable and best in quality but sometimes even best can show some problems. And one of the most common problems that people face is how to connect my Canon printer to my computer or how do i connect my canon printer to my WiFi on Windows and Mac. So, here we are to help you out with such issues.
How Do I Connect My Canon Printer To A New Wireless Network?
For a new user, it is always confusing to deal with all the installation process. Well, with canon printers it’s not that hard. You can easily connect your printer to the new wireless network. We will be using one of the simplest ways to connect Canon Printer to WiFi.
WPS Connection Method
Before we start the connection process you need to check that your access point must have a physical WPS push button, you can take help from the device user manual. Another thing is that your network should use Wi-Fi Protected Access. Now we can proceed with the steps to complete to connect my Canon Printer to WiFi.
- Turn ON your printer.
- Press and hold the Wi-Fi button.
- Light next to the button starts flashing, now go to the Access Point and press the WPS button. You can take the help of the user manual for access point detail, the printer successfully made a connection to your wireless network.
- Now the light stops flashing and remains steady.
After this, if you want to confirm network connection then you can print out the network setting if you want to.
How Do I Connect My Canon Mg3620 Printer To WiFi?
Connecting your canon mg3620 printer wirelessly is not a complicated process; you can do it in just six steps. The main advantage of the Wi-Fi connection is that after connecting anyone in your home from any location can print without using cables.
- Press the Wi-Fi button until the power ON light is not glowing.
- Now press the button with a green color icon on it and then tap the Wi-Fi button.
- Ensure that the Wi-Fi light remains lit.
- Now you need to install all the needed drivers and software on your PC to continue the Wi-Fi setup.
- As you insert the CD drive the setup program starts automatically.
- You will see the installation complete message, click exit, and start printing.
How do I connect my Canon mg3620 printer to WiFi on Windows?
To connect Canon mg3620 printer to WiFi on your computer, just follow all the given steps properly.
- Switch ON your printer.
- On the control panel o0f printer press the Wi-Fi button and hold it until the lamp flashes.
- Now press the button with a green color icon on it and then tap the Wi-Fi button until the Wi-Fi light flashes.
- You need to download all the needed drivers and software on your PC.
- Run the file with .exe extension after download completion.
- Click on printer driver setup and select Yes in the User Account Control screen.
- Now start the setup and choose your country then accept the license agreement after reading it.
- Now choose the connection type as Wireless LAN Connection.
- Tap Next and highlight the checkbox.
- You will see the list of networks available.
- Here ensure that the Canon MG3620 printer is selected and select the network of your choice.
- Enter the security key and click on connect and then next.
- From the software installation list, you need to choose additional software that needs to be installed on your PC.
- After complete installation click on exit and now you can start printing.
How Do I Connect My Canon Mg3620 Printer To WiFi On Mac?
The process to connect Canon Printer to WiFi on a Mac is more or less similar to the windows. The thing is, the process can be done easily.
Before we start the connection process you need to check that your access point must have a physical WPS push button, you can take help from the device user manual. Another thing is that your network should use Wi-Fi Protected Access.
- Switch ON your printer
- Hold the Wi-Fi button until light glows, it should be blue in color.
- When you see blue light go to the router and press the WPS button within two minutes.
- Now if the lamp blinks that means the printer is searching for the networks.
- The power lamp and the Wi-Fi light will blink when it connects to the wireless router.
- Now, wait for the connection establishment, after completion the light becomes steady and you can start printing.
How to connect a Canon mg2522 printer to WiFi?
It is very simple to do, you just need to go through some simple steps and that doesn’t require any technical expertise.
- Switch ON your printer and go to the Wireless connection option.
- Now the printer searches for the networks.
- After this, you will see the list of available networks.
- Choose the preferred network.
- Enter the password and your printer is successfully connected to the network.
Here are the possible solutions to all your queries. By following them, you will easily learn how to connect Canon Printer to WiFi.